Alright folks, it’s getting to be THAT time of year. The leaves are changing, my neck is no longer covered in a constant film of sweat, and the stores are eagerly reminding us that Christmas is literally RIGHT. AROUND. THE CORNER! (Also known as three months away.)
Last October, I was notified that it is essential that we have the Hubs’ father, step-mother, grandmother, aunt #1 of 9, aunt #2 of 9, and brother over for dinner before we had our one year anniversary in November. I tried (desperately) to tell the Hubs that there was no way his Grandma would be able to get up the stairs to our apartment. No dice. This lady is seriously so cool (and determined) that she practically crawled up the two flights of stairs to our place. I aspire to be more like her.
I knew I had to really take it up a notch to impress this delightful new branch of my family. They throw THE BEST parties. And, since I tend to over analyze even the simplest of shindigs I attend, that is major kudos.
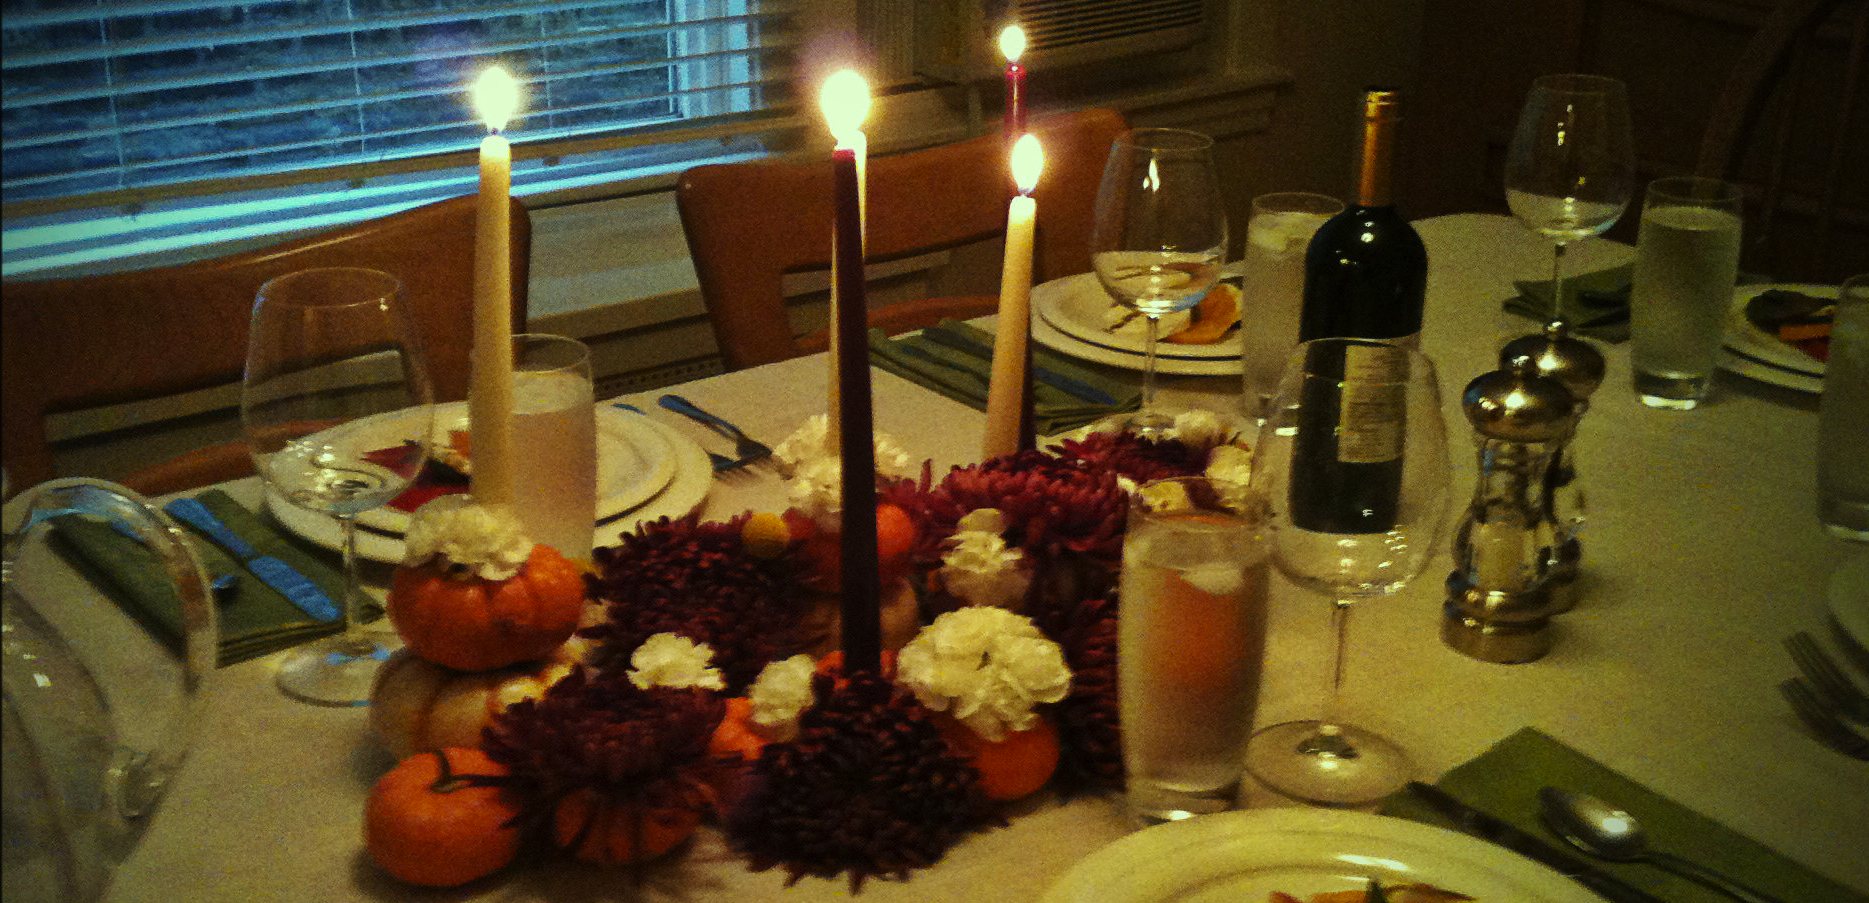
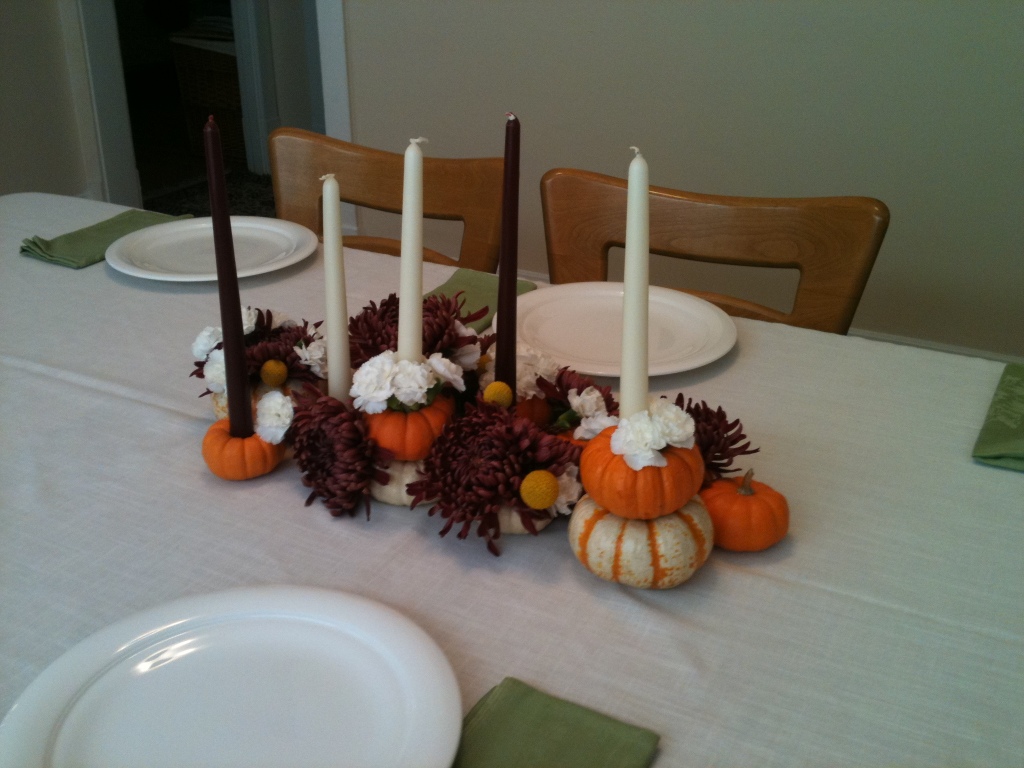
I knew immediately that I wanted a centerpiece that would WOW. Enter mini pumpkins, flowers, and taper candles. I ended up really wishing that I had some mirrors or maybe a little pewter tray under it all, but nothing turned up in my house. I think it looked pretty great anyway.

DIY Mini-Pumpkin Fall Centerpiece
Supplies:
- Variety of miniature pumpkins and/or gourds that sit flat. It’s best to have some variety in color and size.
- Small, sharp knife
- Poster putty or candle wax
- Taper candles
- Floral Pins
How-To:
- Wash your pumpkins to make sure there’s not dirt remaining on the outside.
- Carefully cut the tops off of the pumpkins and mock stack them to get an idea of what type of stacks you prefer. It helps to identify which pumpkins will have candles, which will have flowers, and which are just stackers.
- Carefully, and I really mean it this time, cut small holes in the pumpkins to hold flowers or candles and empty out any pumpkin “innards”. Try not to puncture through to the base of your flower pumpkins as they may leak water as a result. Candle pumpkins work best when the hole is just slightly bigger than the circumference of your taper.
- Create your pumpkin stacks using floral pins to secure. To avoid sight of the pins, place the pins inside the top pumpkin and push through to the base.
- Fill your pumpkin candelabras and vases!
